Get ready to fall in love with these flaky Homemade Buttermilk Biscuits. These biscuits are fluffy, full of beautiful layers, have just the right amount of butter and are surprisingly easy to make!
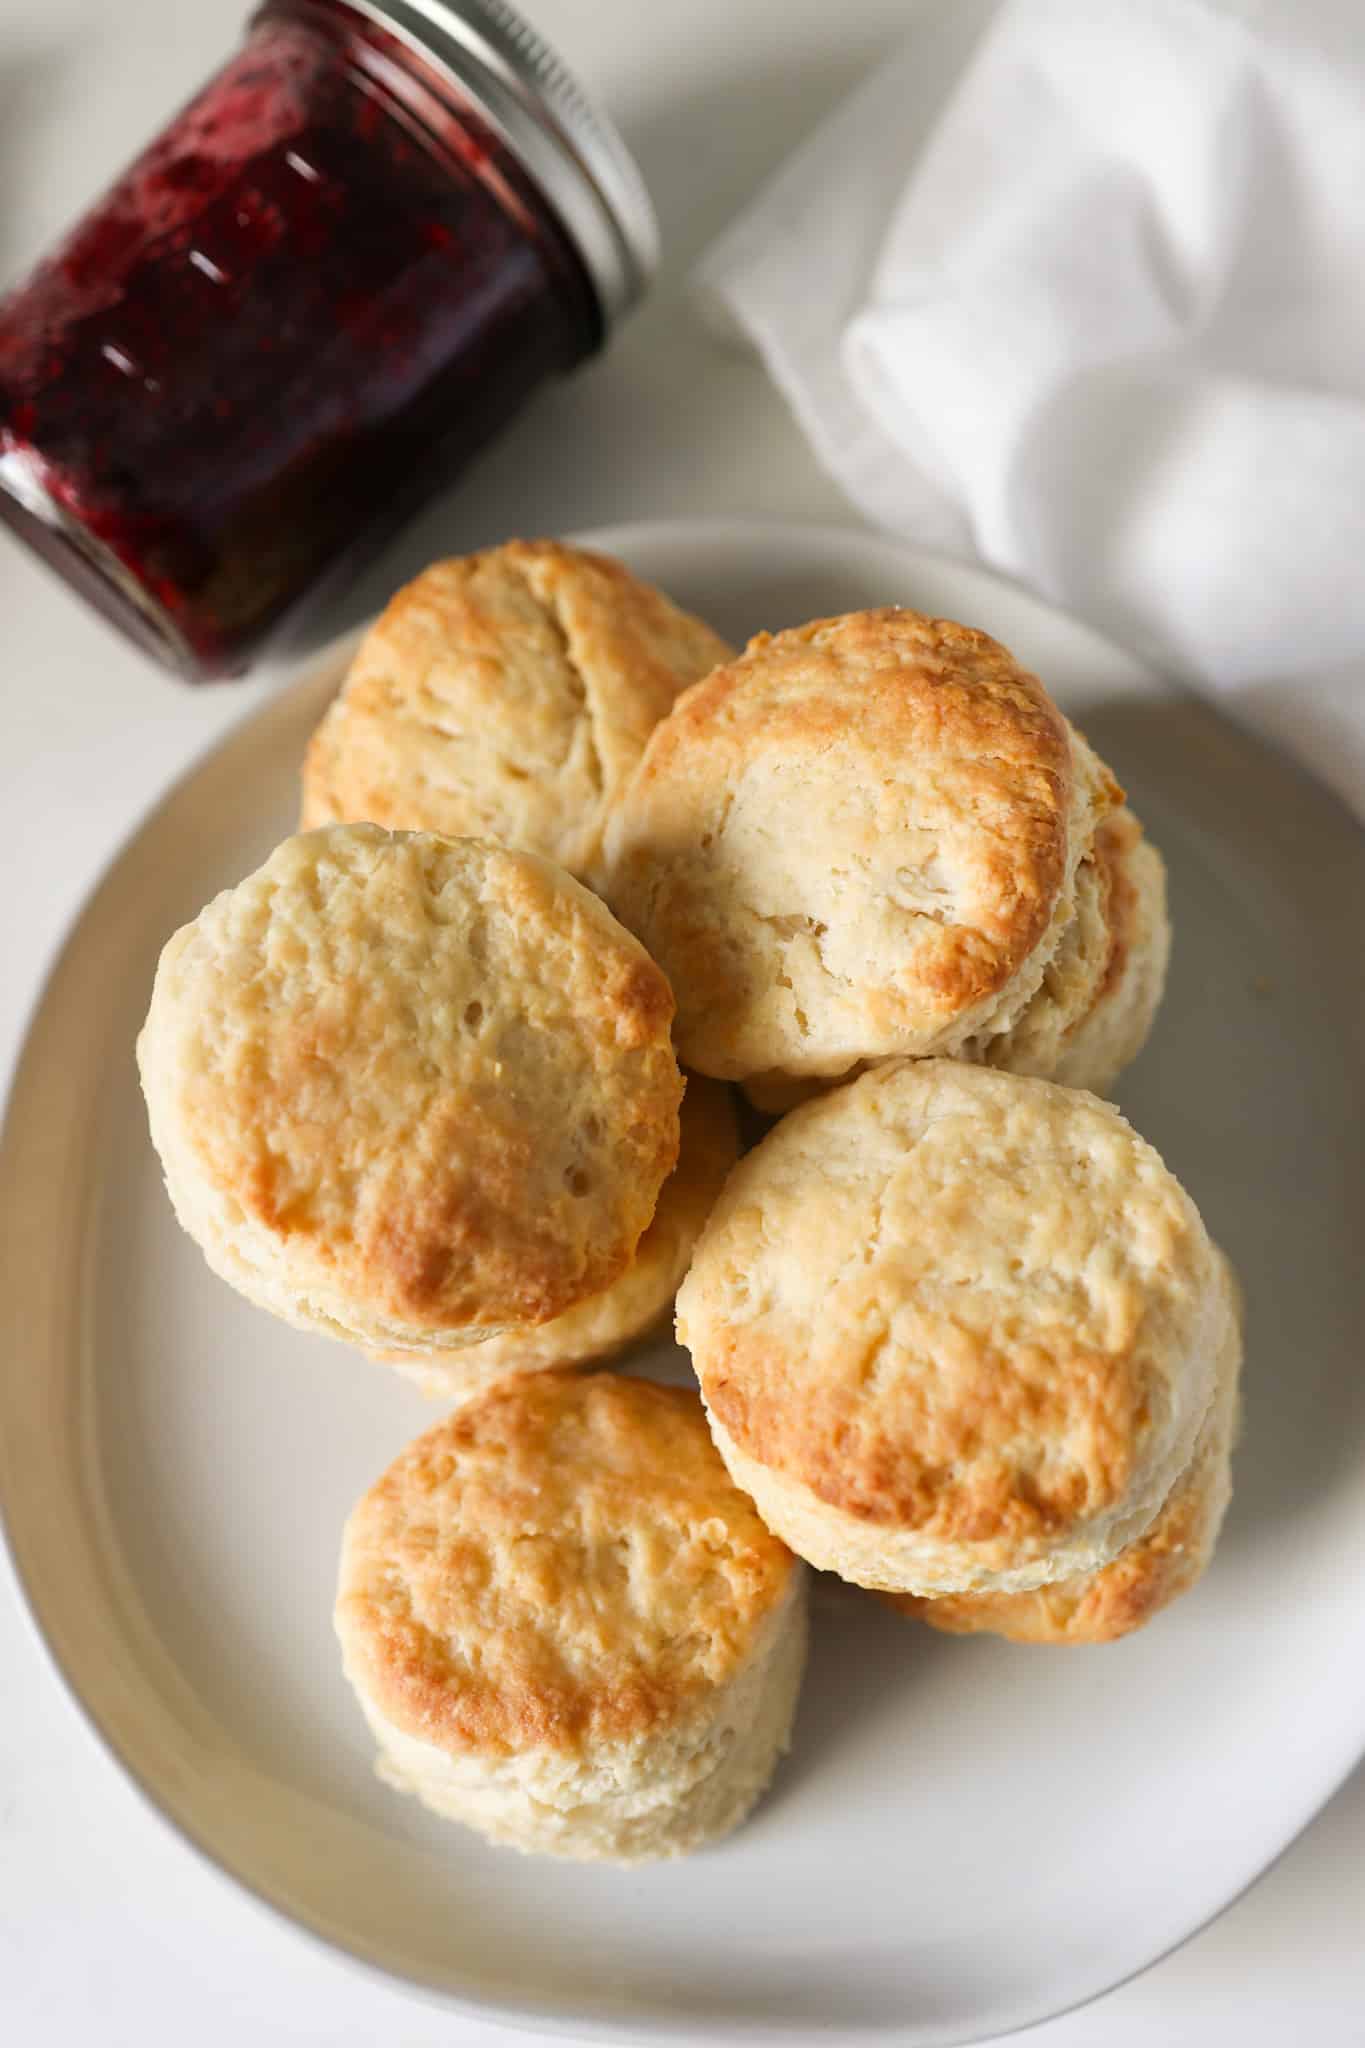
Enjoy them for breakfast or brunch with your favorite mixed berry jam or make some for dinner with your favorite comfort food. This recipe includes basic ingredients and is easy to memorize for whenever you have a craving for homemade biscuits!
Now if you would have told me 10 years ago that I would be making my own homemade biscuits from scratch, I would have laughed so loud! I never would have thought it was this easy to do. So I can’t wait to share all of my tips with you for these delicious buttermilk biscuits! Let’s jump right in!
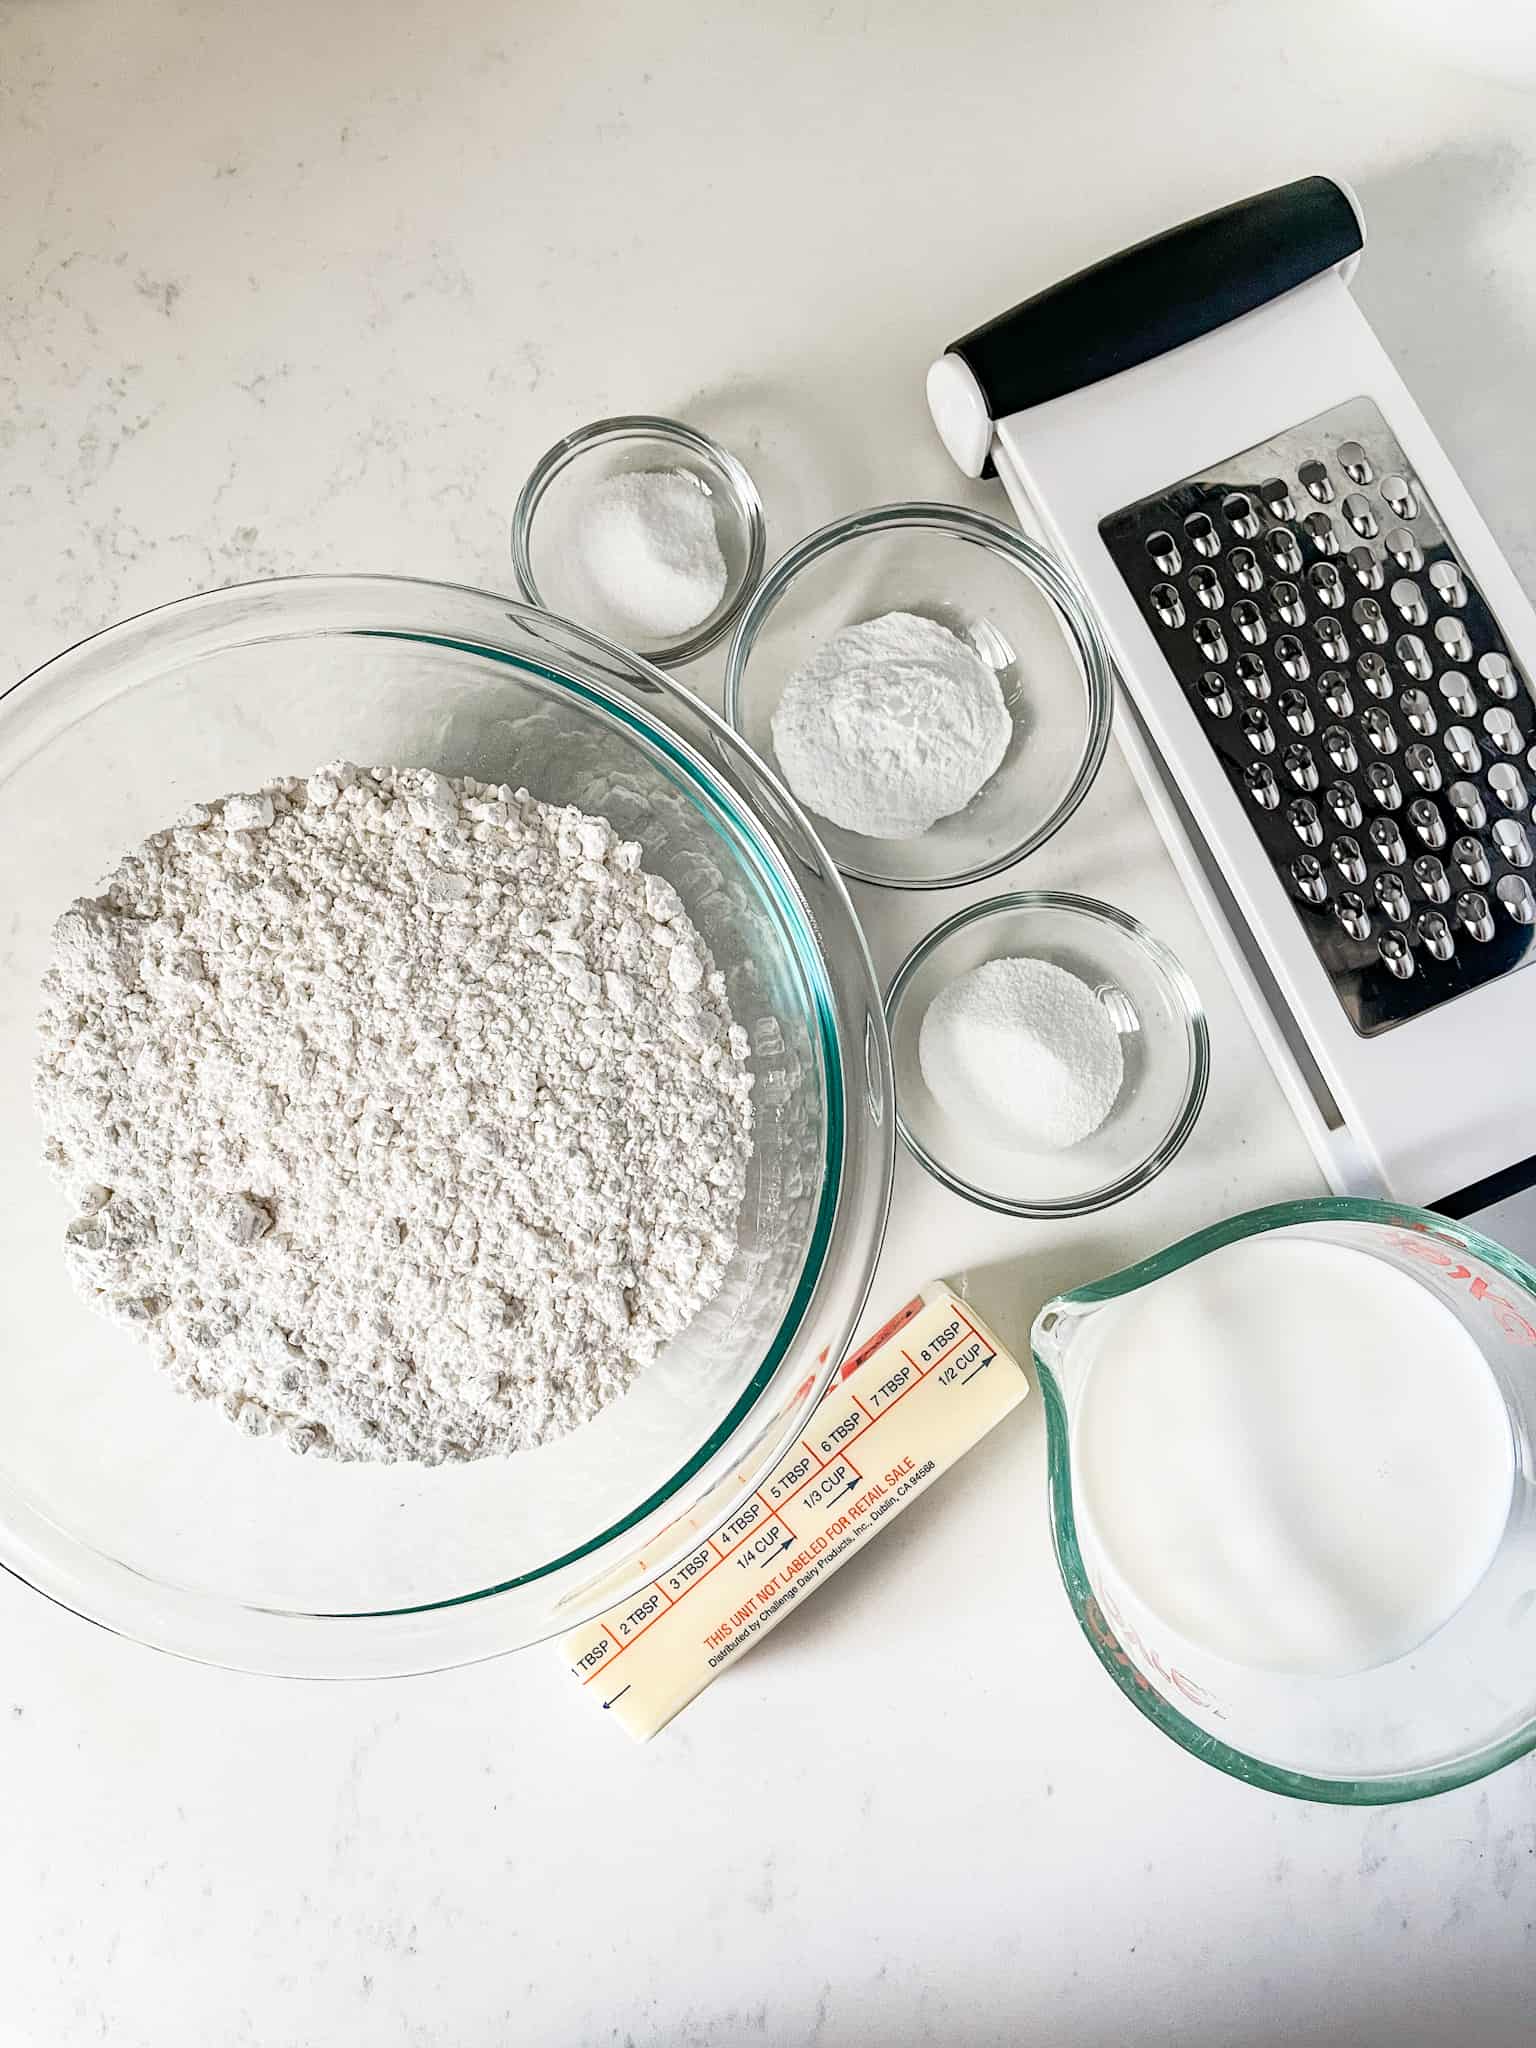
INGREDIENTS YOU’LL NEED
All Purpose Flour - I also have instructions below in case you want to use self-rising flour.
Baking Powder - a leavening agent to help the biscuits rise.
Fine Sea Salt - helps bring out the flavors in the biscuits.
Granulated Sugar - just a little bit of sugar gives the biscuit a little color and flavor.
Salted Butter - make sure the butter is very cold before adding to the flour.
Buttermilk - I usually make my own homemade buttermilk. I’ll list the instructions for this method below. But if it’s in your budget you can certainly buy buttermilk at your local grocery store.
HOW TO MAKE FLAKY BUTTERMILK BISCUITS
Full measurements and instructions are included in the recipe card below, but here’s a detailed overview:
Step One: Place a stick of butter in the freezer ahead of time so it can start to get really cold. If you are making your own buttermilk (instructions below) use this time to go ahead and prepare the buttermilk, then place it in the fridge so it stays cold.
Step Two: In a large bowl measure and whisk together flour, baking powder, salt and sugar. Grate cold/frozen butter into the flour bowl. Next slowly add the cold buttermilk to the bowl (reserve about 2 tablespoons) and gently stir just until the dough starts to come together. Don’t overmix!
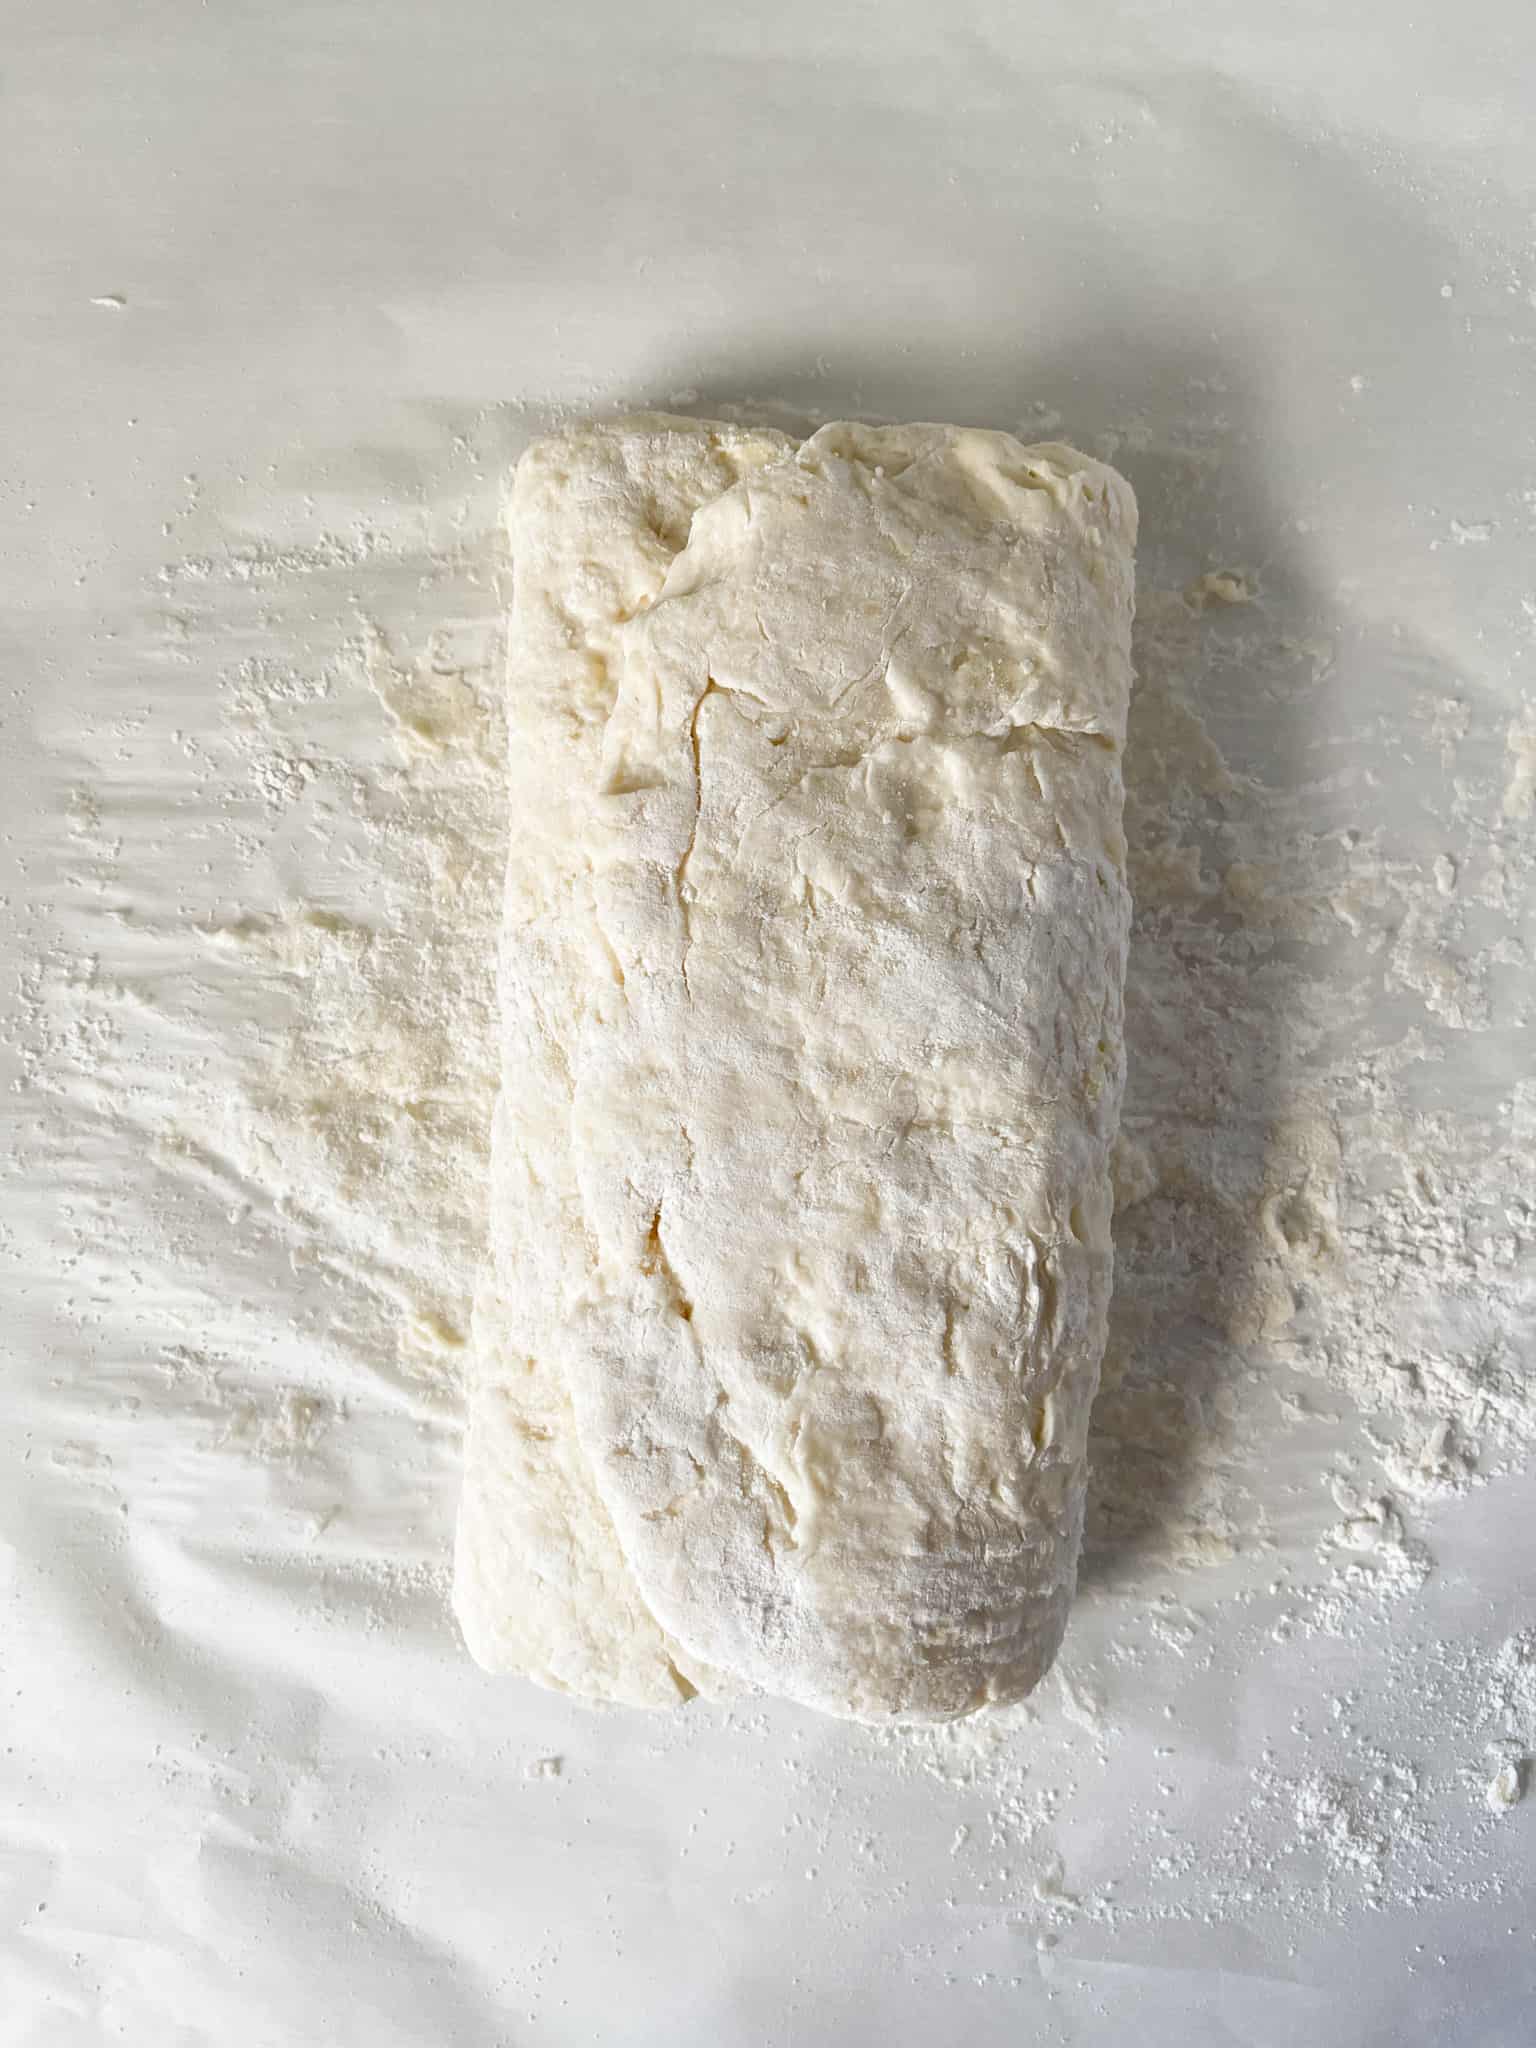
Step Three: Place biscuit dough on a floured surface (I use parchment paper with a little flour sprinkled on top). Gently pat the dough with flour-dusted hands and work into a rectangle shape. Next fold the dough into thirds like you are folding a letter (as shown in pictures below). Gently pat and form the dough back into a solid rectangle, rotate it 90 degrees, and repeat the letter folding step 2-3 more times. This helps make beautiful, flaky layers in the biscuits.

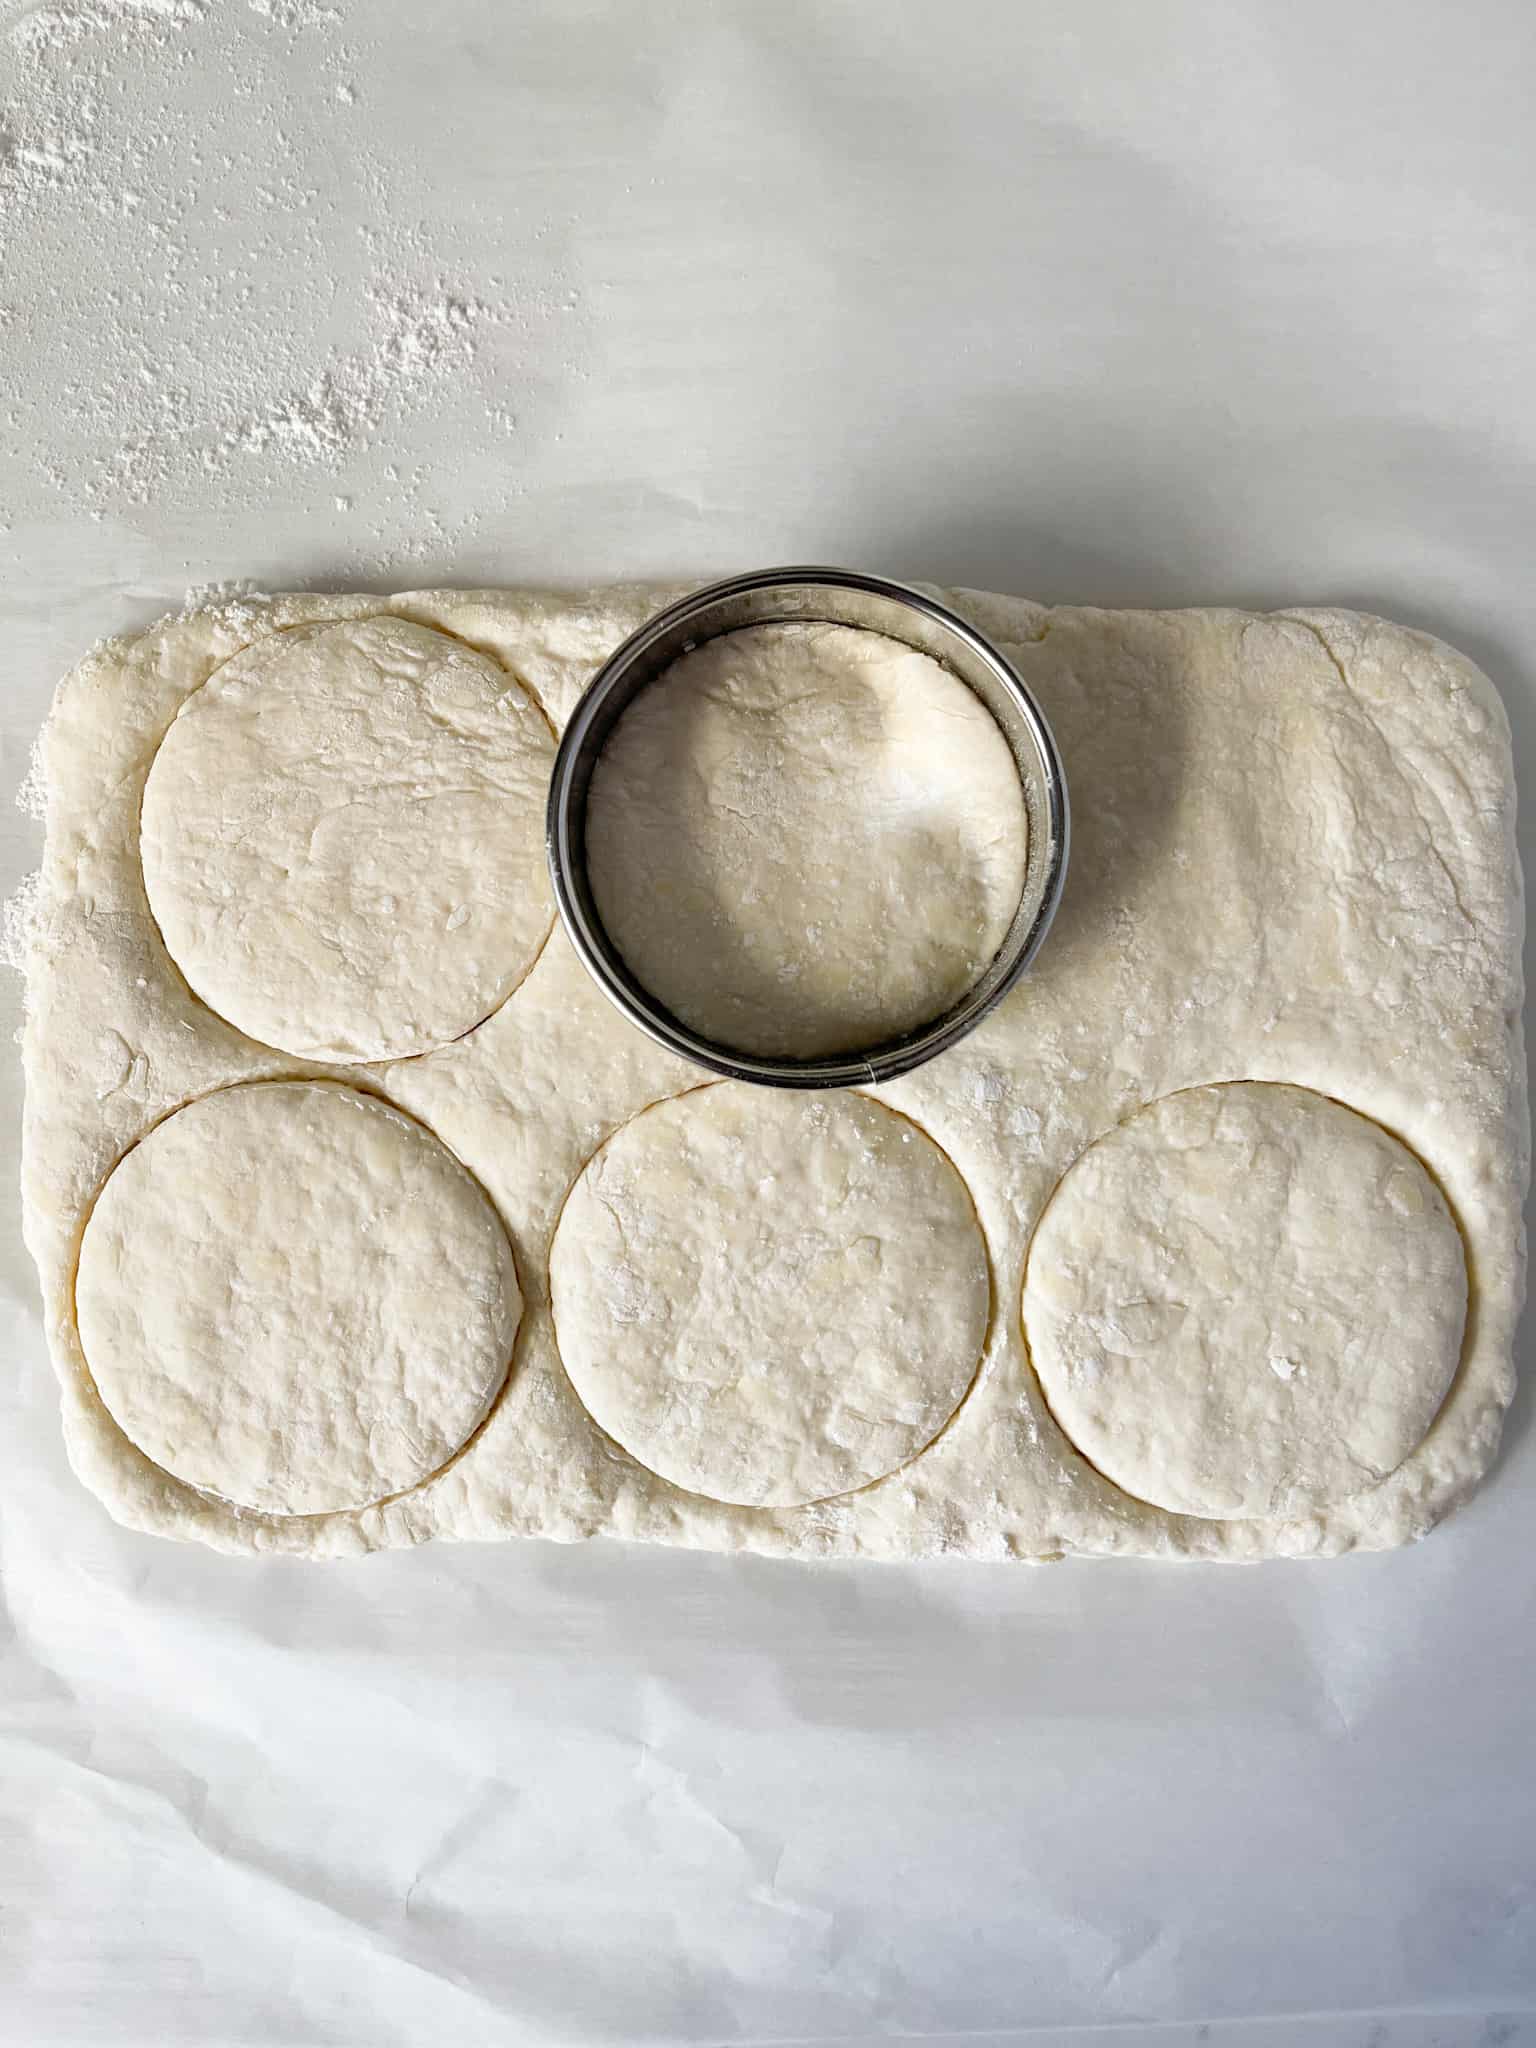
Step Four: Once the folding has been repeated 2-3 times, pat the dough into a ½ inch thick rectangle and begin cutting the biscuits with a biscuit cutter or whatever you have (I prefer to use the top rim of a mason jar to cut my biscuits). Be sure to lightly flour the biscuit cutter or glass rim to help prevent it from sticking. Very important: when you are cutting the biscuits don’t twist the biscuit cutter. Just press the cutter or glass straight down and pull it straight back up. If you twist the cutter while pulling it up, it will seal the edges of the biscuit and they won’t rise as high.
This recipe makes 6 perfect size biscuits with a little dough left over. Pat the left over scraps together and cut 2-3 more biscuits - these biscuits won’t look as pretty as the first set but they will still taste delicious!

Step Five: Place biscuits on a cookie sheet with the sides slightly touching each other. Bake in a preheated oven for 13-15 minutes or until the tops are golden brown. Remove promptly from the oven and brush the tops with melted butter. Enjoy!

MAKE YOUR OWN HOMEMADE BUTTERMILK
Buttermilk is one of the key ingredients in this biscuit recipe. You can buy buttermilk at the grocery store, but it’s often kind of pricey and you really won’t use it all up unless you plan on making a lot of biscuits or pancakes in a short amount of time. So feel free to just make your own!
Take 1 cup of milk and add 1-2 tablespoons of fresh squeezed lemon juice (about ½ a lemon) or white vinegar. Stir it together, place it in the fridge and let it sit for 10 minutes. The milk will start to thicken as it sits and makes perfect buttermilk to use in your recipes.
CAN YOU USE SELF RISING FLOUR TO MAKE BISCUITS?
Yes. Using self rising flour is actually a quicker method as it includes flour, salt and a leavening agent (baking powder or soda) all in one. Just use 2 cups of self-rising flour, sugar, butter and buttermilk - then proceed with the rest of the steps.
RECIPE TIPS FOR PERFECT BISCUITS
- Grate your butter! Use a grater to grate the butter into the flour. This will give you perfectly small pieces of butter to mix into the flour. It also gives you a better consistency than using your hands or a fork. Be careful with your fingers when using the grater.
- Place the stick of butter in the freezer for roughly 20-30 minutes right before it’s time to grate. This will harden the butter and make it a lot easier to grate.
- Make sure you are always working with cold buttermilk and cold butter.
- Start by pouring only ¾ of the milk. You may not need the full cup. I like to reserve about 2 tablespoons. The dough is easier to shape and form if it’s not too wet.
- Be sure not to over mix the biscuit dough. You want the biscuits to be nice and fluffy.
- Make sure your dough is at least ½ thick before you start cutting so you biscuits can rise nice and tall. If the dough is too thin, the biscuits wont rise as high.
- When you are cutting the biscuits don’t twist the biscuit cutter. Just press the cutter straight down and pull it straight back up. If you twist the cutter while pulling it up, it will seal the edges of the biscuit and they won’t rise as high.

MORE BREAKFAST & BRUNCH RECIPES
- Spinach and Vegetable Frittata
- Crispy Parmesan Crusted Potatoes
- Apple Cinnamon Steel Cut Oatmeal
- Fluffy Blueberry Buttermilk Pancakes
- Strawberry Oatmeal Smoothie
- Blueberry Spinach Smoothie

Homemade Buttermilk Biscuits
Ingredients
- 2 cups all purpose flour
- 1 tablespoon baking powder
- 1 teaspoon fine sea salt
- 2 teaspoons granulated white sugar
- 1 stick of butter 8 tablespoons
- 1 cup buttermilk
Instructions
- Preheat oven to 450°
- Place a stick of butter in the freezer ahead of time so it can start to get really cold. If you are making your own buttermilk (instructions listed above) use this time to go ahead and prepare the buttermilk, then place it in the fridge so it stays cold.
- In a large bowl measure and whisk together flour, baking powder, salt and sugar.
- Remove the butter stick from the freezer and carefully grate into the flour bowl. Grate 7 tablespoons of the butter and reserve 1 tablespoon to melt and brush on the tops of the biscuits once they’re done.
- Next form a small well in the middle of the flour bowl and slowly add the cold buttermilk to the bowl (reserve 2 tablespoons of buttermilk). With a spatula, gently fold/mix the dry and wet ingredients just until the dough starts to come together. Don’t overmix!
- Place biscuit dough on a floured surface (I use parchment paper with a little flour sprinkled on top). Gently pat the dough with flour-dusted hands and work into a rectangle shape. Next fold the dough into thirds like you are folding a letter (as shown in pictures above). Gently pat and form the dough back into a solid rectangle and repeat the letter folding step 2-3 more times. This helps make beautiful, flaky layers in the biscuits.
- Pat the dough into a ½ inch thick rectangle and begin cutting the biscuits with a biscuit cutter or whatever you have (I prefer to use the top rim of a mason jar).
- Place biscuits on a lightly buttered cookie sheet with the sides slightly touching each other. Bake in a preheated oven for 13-15 minutes or until the tops are golden brown. Remove promptly from the oven and brush the tops with melted butter. Enjoy!
Leave A Comment